

How I create my pattern designs from start to finish. Tips & tricks for advanced beginners.
Every designer has their own workflow that works best for them. Today, I’m sharing mine with you, along with some useful tips and tricks!
No time to read the whole article? Skip to TL;DR!
I’m always interested in other designers’ workflows because there are so many ways to go about it. During my pattern designer journey, I have adapted my workflow several times. So I can now say this is what works best for me — at least for the time being. Our workflow can and should always change and adapt as we grow.
In this blog post, I want to share the technical aspects of how I create repeat designs. I hope you might learn a new trick or that I might inspire you to adapt your own workflow. A good workflow helps us be more productive and thus stay motivated.
Programs & Tools
I use these programs & tools:
- Affinity Designer on my iPad
- Procreate on my iPad
- Adobe Illustrator on my MacBook, sometimes Photoshop.
That said, you can adapt some elements of my process to your own programs. Btw, I’m using an iPad Air with an Apple Pencil (2nd Generation). So far, the Air has been working well enough for me! I might upgrade to an iPad Pro at some point, but I currently don’t feel the need to.
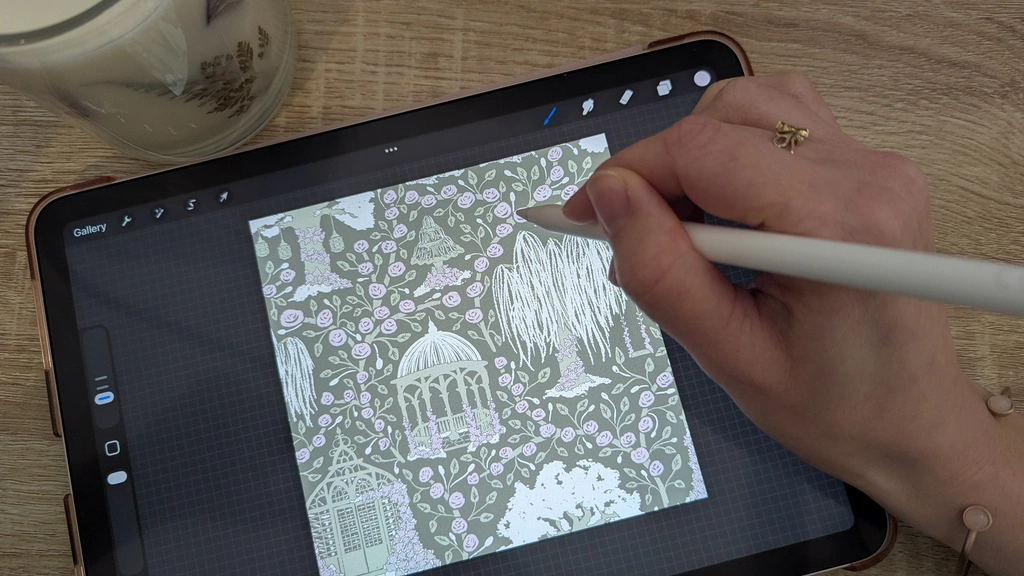
Step 1: Creating the Basic Layout of My Design in Affinity Designer
Let me start by saying that this is not something I do for all patterns. If I’m working with a pattern template, for example, or I’m creating a simpler pattern where I arrange the motifs in Adobe Illustrator at the end, I skip this step and create my sketch directly in Procreate. However, I loooove intricate, complex designs in Arts & Crafts or other historical styles. For designs like that, this first step is absolutely essential for me. You can do this in Procreate, too. It might just take a little longer if you need to move your motifs around a lot, which is why I prefer Affinity Designer.
Another thing to note here is that my sketch layers are messy. Like, extremely messy. So messy that I’m a bit embarrassed sharing them here — nevertheless I still am. I know many designers first create elaborate sketch layers, and if this is you, I admire you! I’m usually simply too impatient to create a detailed sketch. I want to get to the fun stuff fast. So my sketches consist of very basic shapes for the main motifs that help me visualize the general flow and and layout of the design.
Exhibit A: Sketch with main motifs in Affinity Designer vs. finished motifs in Procreate.
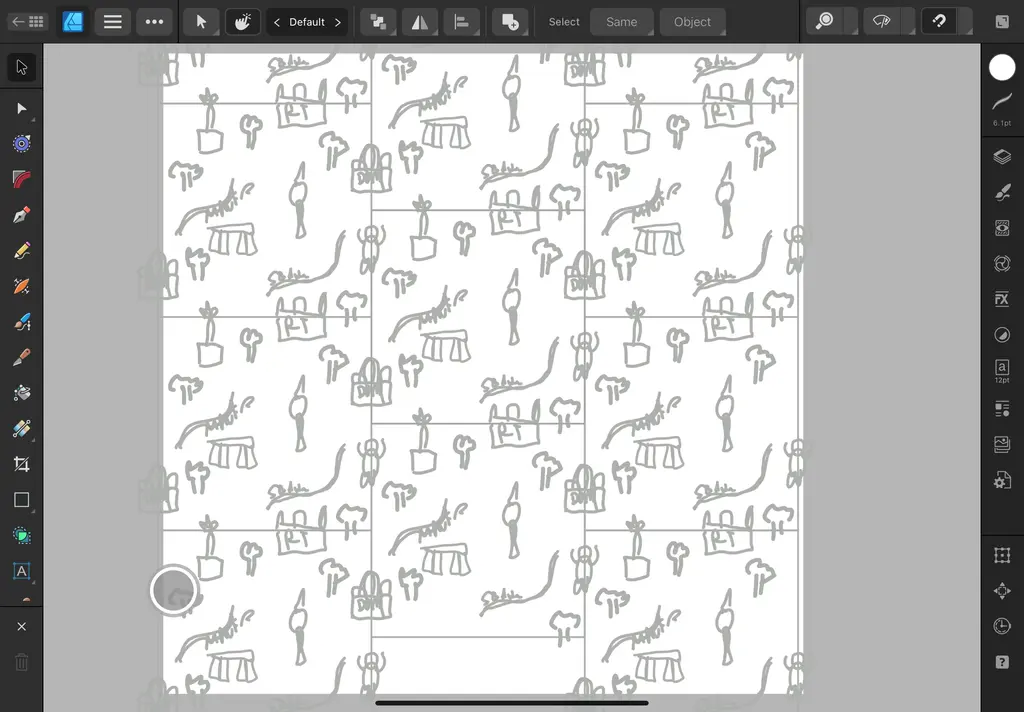
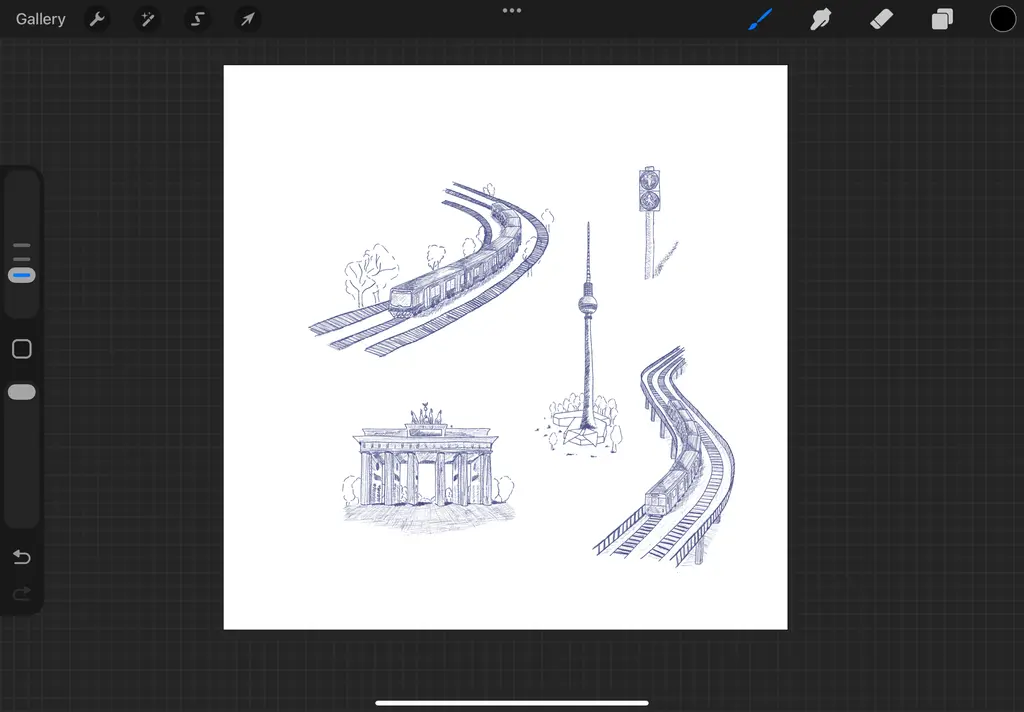
I prefer creating my first, very basic layout of motifs in Affinity Designer because of the preview function. I have several templates for a regular repeat, a half-drop repeat, and a half-brick repeat. So my first step is to select the repeat version I’m using. In the example below, I used a half-drop repeat. The sketch is actually already quite elaborate for me. I first created the main motifs and moved them around until they were nicely distributed. You will notice that the greenhouses and the trees are arranged diagonally. Even though this is the first thing you might notice about this sketch, it is a lot less obvious in the finished pattern. Arranging motifs diagonally gives the pattern a nice overall flow.

This basic layout is the most important step for me. I move my motifs around a lot and I might scale them up or down until I find the perfect balance and am happy with the overall layout and flow. In this design, I then added the connecting motifs: the floral vines.
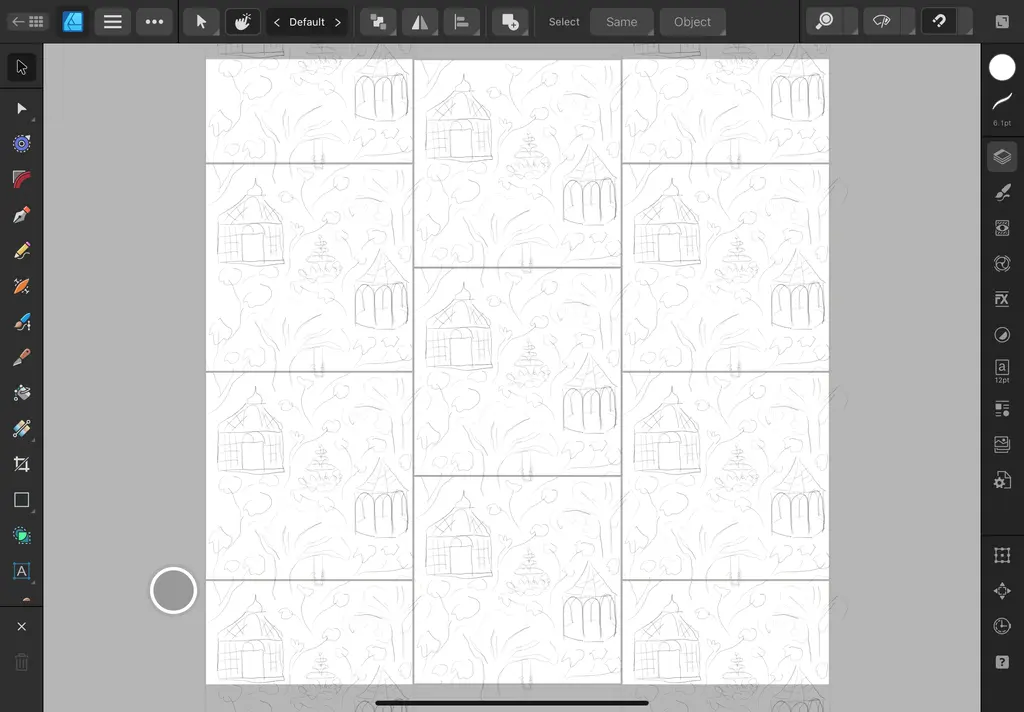
Can you tell which historical style inspired this design? It’s Toile de Jouy! Even though the motifs and the colors of the finished design don’t scream Toile, the basic layout is reminiscent of this intricate style.
Step 2: Drawing My Motifs in Procreate
After finishing the sketch layer, I export the image and import it into Procreate. Then the fun stuff begins (finally!): Actually drawing my motifs. (I’m assuming you already know how to create a seamless pattern in Procreate here. If you don’t, there are many wonderful blogs & courses that teach you how. Once you’ve mastered it, you can come back here.)
I usually do the coloring in the very end in Adobe Illustrator (unless I use digital watercolor). So the colors don’t really matter much to me at this stage. For the example design, I even used only one single color.
Most importantly, I draw everything that’s supposed to be in a different color on a separate layer. I like to group my layers together, one group per motif. I sometimes end up using more layers than I actually need for the final coloring. But I’d rather have too many than not enough — and then realizing that I want different colors. Yes, it has happened; I learned my lesson.

Once I finished drawing my greenhouses, the fountain, and the trees — including all the little details like the lanterns, the swing, and the climbing roses — I drew the connecting rose vines. As you can see, I first marked where they should go (overall flow!) and then drew over the lines.
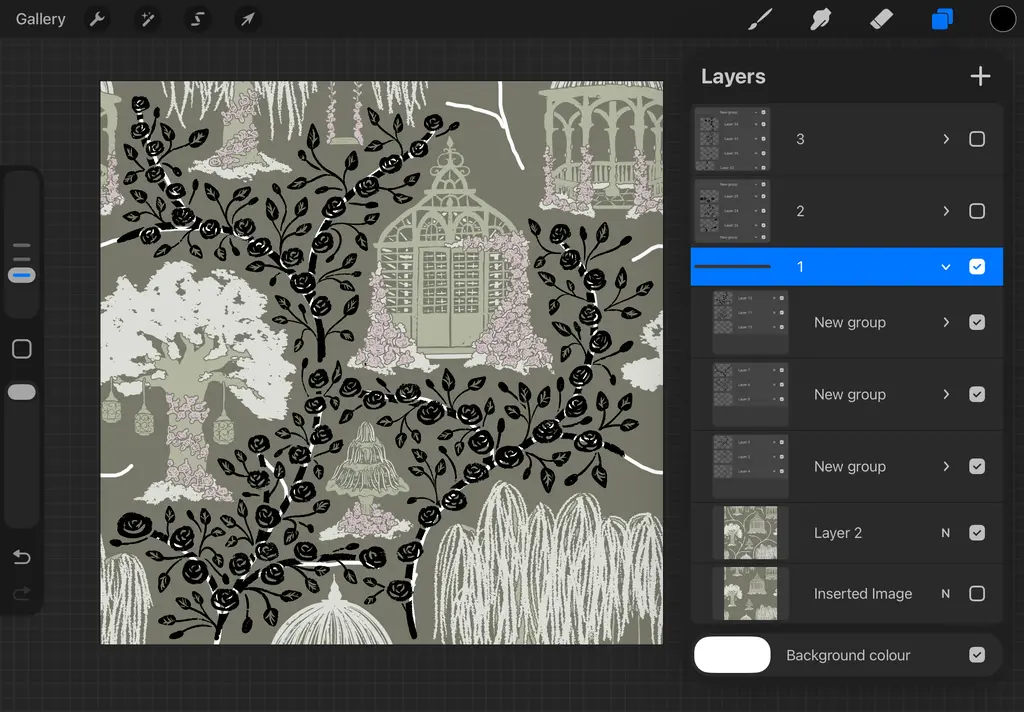
I like to vectorize my designs in Adobe Illustrator. For exporting to Illustrator, I make all the layers black. This provides the biggest contrast, so it’s best for vectorizing.
I export my motifs from Procreate as a PSD file. That way, I don’t need to mark the corners of every artboard. What a time-saver!
Step 3: Finishing My Pattern in Adobe Illustrator
Once I airdrop my PSD file to my laptop (yay for fast and easy sharing between devices!), I open it in Illustrator, and convert all layers to objects. I then go through every layer and use Image Trace to vectorize it. I have created a couple of presets for the Procreate brushes I use most. This way, I get consistent results and don’t need to fumble with the Image Trace settings every time.
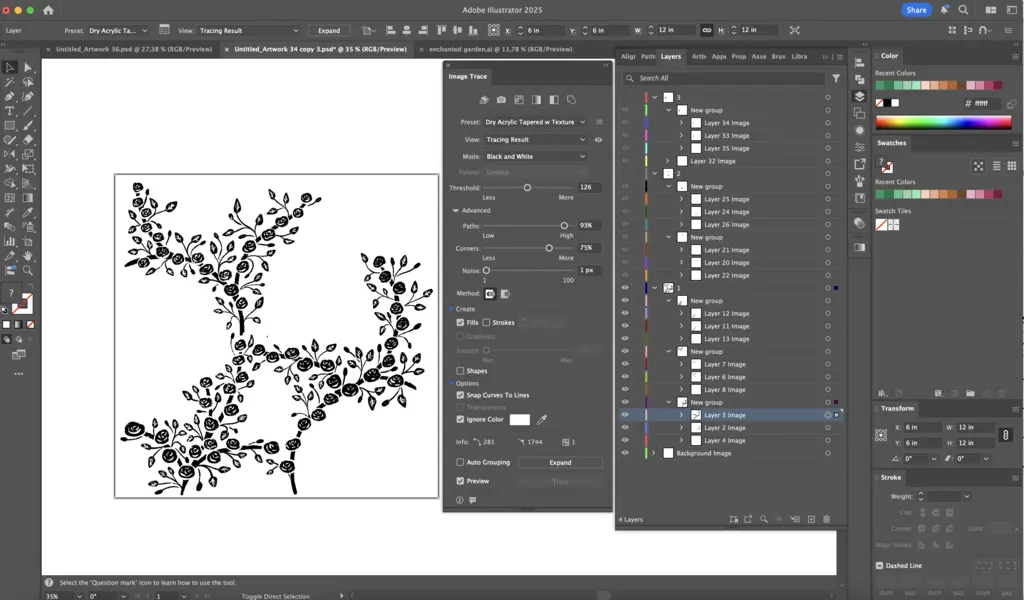
Quick note: Sometimes, I go back and forth between Illustrator and Procreate a few times. For example, I might vectorize my main motifs first and re-arrange them in Illustrator until I am happy, and then go back to Procreate to draw the connecting motifs. If you are in the aforementioned highly-detailed-sketch group, you most likely don’t need to do that.
After image tracing everything, I set up the repeat tile. And then I finally get to coloring. I’ll be honest, it is not my favorite part and also doesn’t come easy to me. I often need to experiment quite a lot until I’m happy with the results. I usually like muted colors; often light colors on a dark background. But I try to create several light and several dark versions of each design.
Ready for the finished design? Tadaaa! Here it is, on the Spoonflower website, available in several color versions.
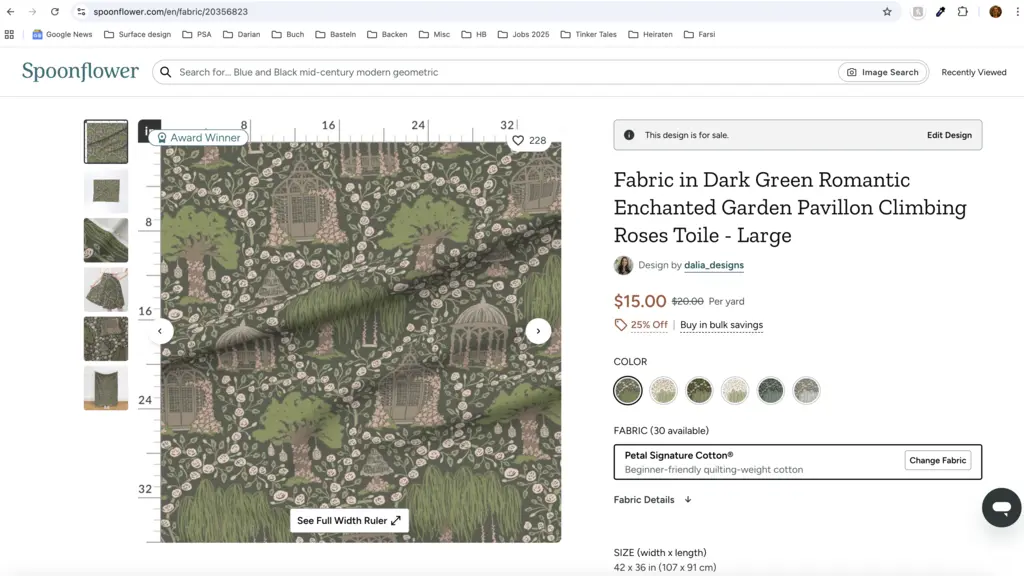
As you might have noticed, it has the little Award Winner badge. I submitted this design to the Garden Tapestry Challenge and it came in at place 72 out of 1046 submission. Which goes to show that a well thought-out layout can really help elevate your designs!
I hope you enjoyed this insight into my design process! I will soon create more posts with detailed descriptions of every separate step. Stay tuned!
Have any open questions about my workflow? Feel free to email me at hello@dalia-designs.com!
Brief Summary (TL;DR)
My workflow consists of three main steps: (1) Creating a rough sketch layer in Affinity Designer (optional, depends on the complexity of the pattern); (2) Drawing my motifs in Procreate; (3) Vectorizing, setting together the repeat, and coloring in Adobe Illustrator.



Leave a Reply